Easier installation of NixOS on Linode
The guide from the official wiki on how to install NixOS at Linode is very manual, and that can get a bit time consuming if you have to do it a lot of times.
I have therefore made a script that does the same, but is more automated.
1. Create a new instance #
Press the Add a Linode link in the interface.
2. Add a disk #
Press Create a new Disk in the interface, give it a name, for an example nixdisk, type=ext4, size=maximum. Click the create button.
3. Boot Finnix #
Click the tab named Rescue, and click the button saying Reboot into Rescue Mode.
4. Get remote access #
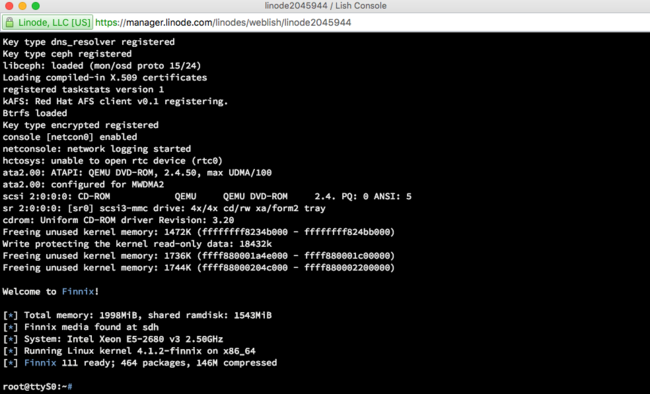
Click the tab named Remote Access, and click Launch Lish Console, you will get a popup that looks like this:
5. Run install script #
I have a script hosted on Github here: https://gist.github.com/kaspergrubbe/b42e5e1ccd276fea8d99e4865f0bcb21
I had to ignore certificates, because the version of Finnix Linode uses seems to not have up-to-date certificates, this is not recommended. You can try to run apt-get install ca-certificates to resolve the issue, but that gave errors for me.
wget --no-check-certificate https://gist.githubusercontent.com/kaspergrubbe/b42e5e1ccd276fea8d99e4865f0bcb21/raw/871117fe6c1af97f4ec3b0f0f1d719fa3a2a460a/nixos_setup.sh
Follow that up with:
bash nixos_setup.sh
The script stops inside the chrooted environment of NixOS, so you will have to run passwd to set the password of your root-user.
6. Shut down the machine #
- Go to the
Dashboard-tab on Linode and clickShut down. - Click
Create a new Configuration Profile - Set
Kernel = Direct disk - Set
/dev/sda = nixdisk(or whatever you labeled your disk in step 2) - Set
Distro Helper = no - Set
Auto-configure Networking = no - Press
Save changes
7. You are now done! #
You will now be back on the dashboard for the instance, click the Boot-button.
You can now SSH into the machine using the password you set.

